
Yes, we are quarantined, yes, we are social distancing, yes this is the BEST time to start your journey with the sourdough bread. All you need is flour, water and salt! I’m going to keep this intro nice and short because I don’t like to scroll through recipe bloggers pages and pages of chit chat conversation before the recipe actually comes.
This recipe will be written a little differently because I will want to explain each step as best I can. I have watched and read tons of videos and recipes online, and let me tell ya, bread makers do have a bit of an ego, they will write in their recipe brand new vocabulary words only used in bread land and then they expect you to know exactly what to do. I am here to break that down for you guys, because I googled it. My one piece of advice before we start, purchase a food scale, any recipes you are seeing online using measurements in cups are wildly inaccurate, they are probably experience bread makers that can eyeball ingredients like a mastermind, we aren’t there yet. Please keep in mind this is my start to making bread so please provide any feedback or tips in the comments section, we are all working together here!
1. The Starting Line
Sourdough Starter Ingredients:
105g whole wheat unbleached flour
120g water
This is the 7 day process of creating your pet sourdough starter. You only have to do this process once in your life, or you can get a starter from a friend (me! I’ll give you some starter!). This was the one part of my ego that kicked in… I heard I would have this my whole life so I figured I should be the creator.
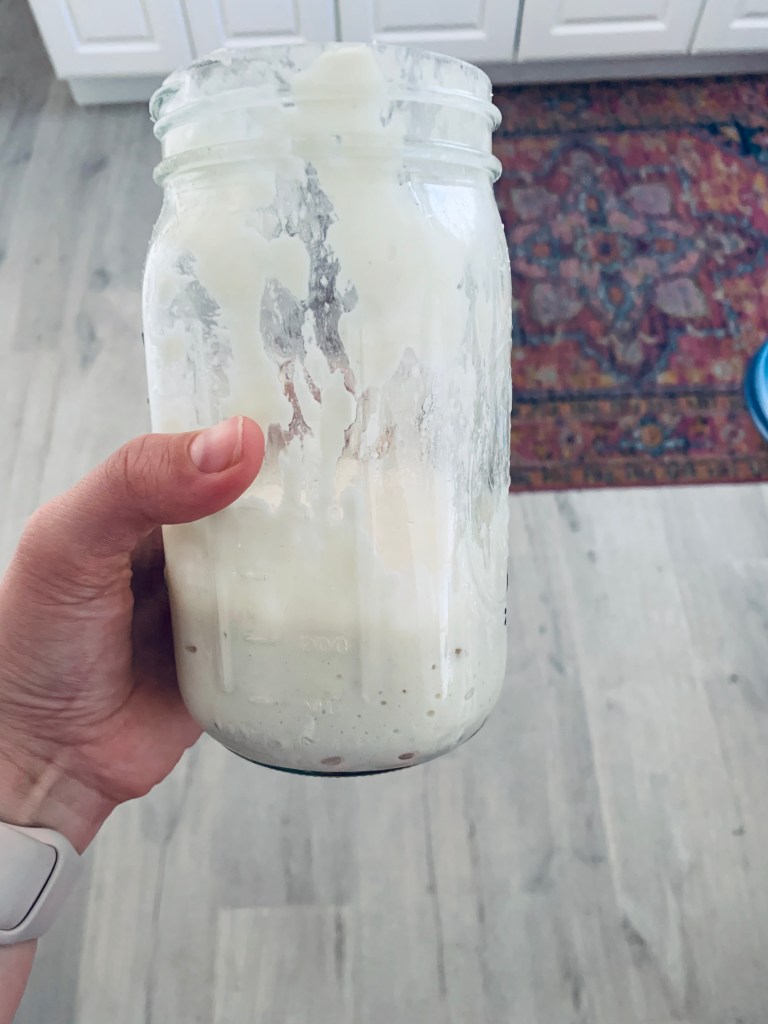
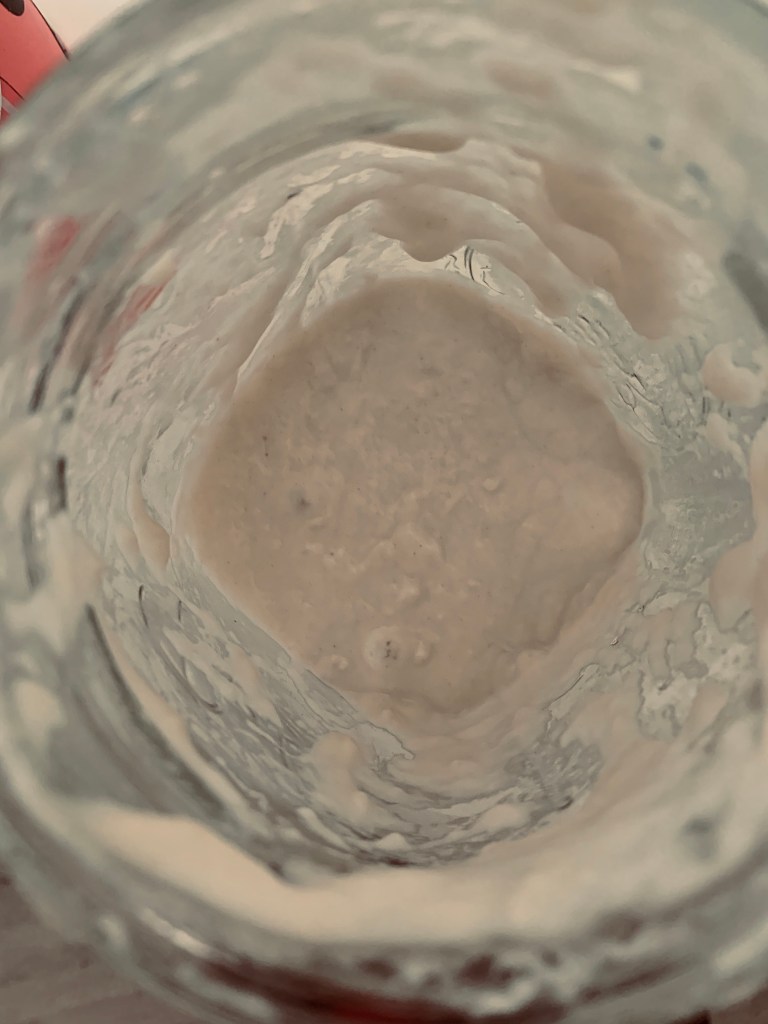
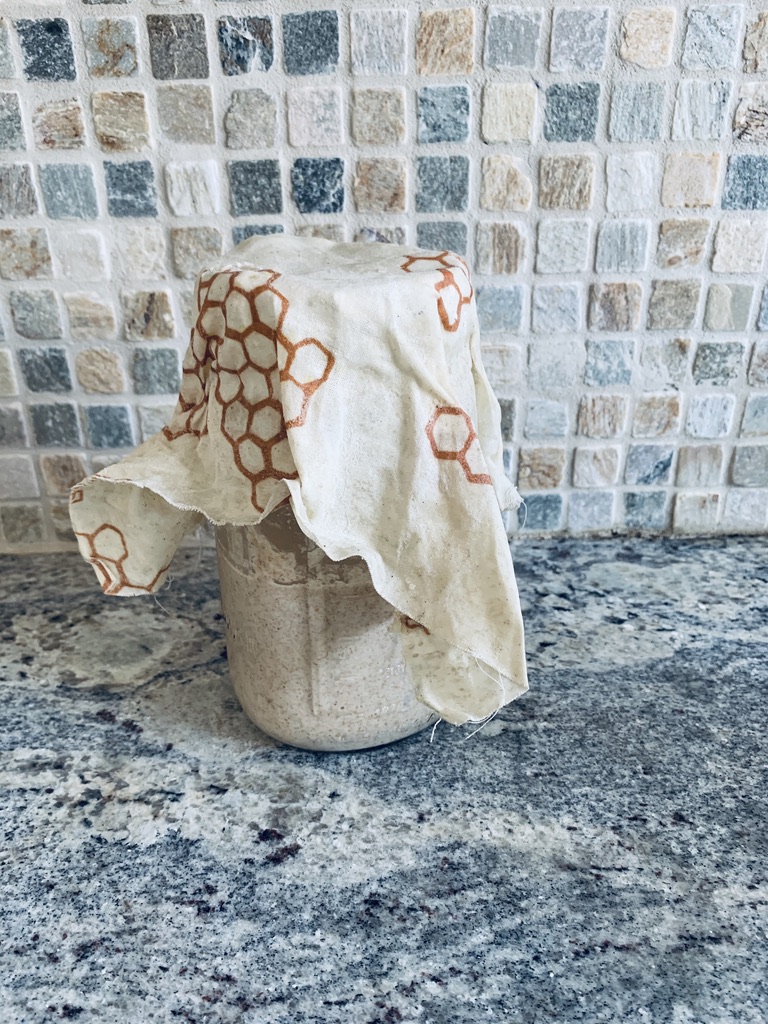
A sourdough starter is a combination of wild yeast and bacteria, it is fermented heaven that you can use instead of purchasing the packets of yeast in the grocery store. The first day start with the ingredients above in a large mason jar mixed very well(bread connoisseur’s will call this ‘hydrated flour’ because all the flour has been mixed and looks moist). Then cover your jar with a beeswax wrap because you are woke and don’t use plastic wrap. Keep your starter in a warm area, living in San Francisco, I would turn my oven light on and keep it in there, the light produces just enough heat and great environment for your starter. The next morning toss ½ of your starter into your compost bin and add the above ingredients again, mix well…I mean make sure your starter is ‘hydrated.’ You will repeat this process every day until day 4. On day 4, do this process morning and night. Repeat this morning and night until day 7 when you will have a beautiful active live starter.
2. We got the starter, now let’s make this bread $$$!
My friends Cathy and Derek helped me through this first ever loaf the entire way. They sent me a photo from their book of Rich Table Cookbook, I adapted that recipe with Josey Baker’s, and YouTubes I watched with the flours that I had.
Levain ingredients:
30g Sourdough Starter
210g whole wheat unbleached flour(this is where you can mix it up with different flours! Let me know which ones you like, this could be rye, all purpose, bread flour etc. nothing gluten free!)
240g water
Mix the above ingredients and let sit covered overnight, similarly to how you would your sourdough starter but maybe a bit cooler environment. I do a kitchen cabinet because Pinto loves the taste of flour and water.
3. Still Flour, Water, Salt.
Bread Ingredients:
480g water at warm room temperature
750g whole wheat unbleached flour(again, you can mix it up!)
24g salt
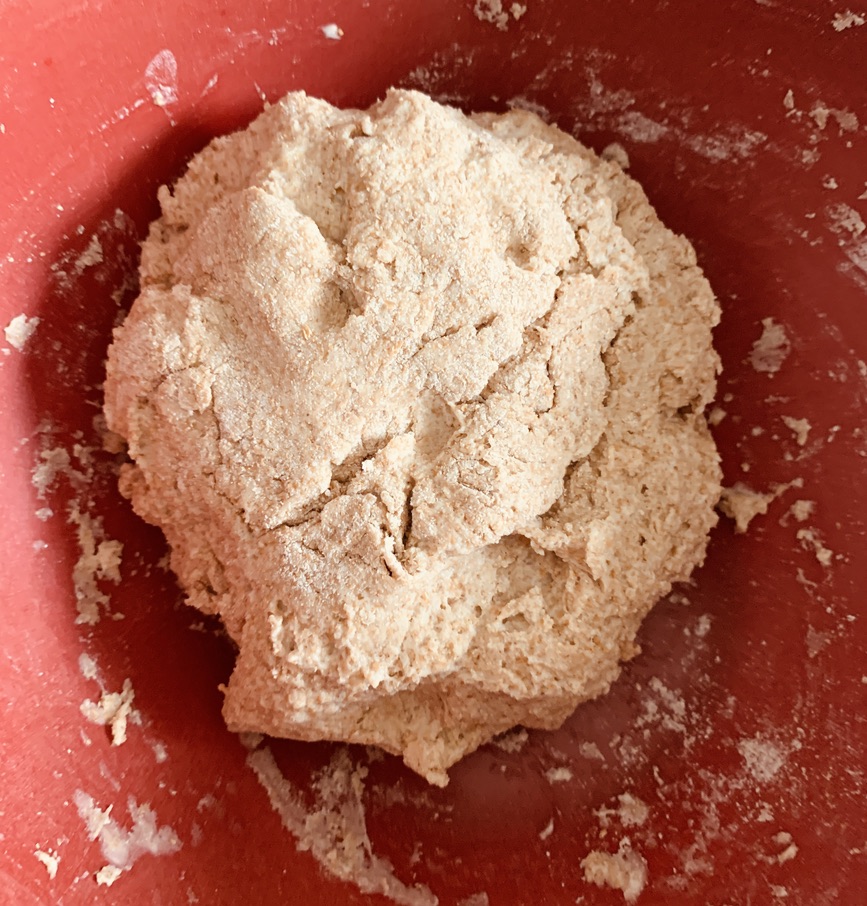
Your levain has sat overnight, is active and bubbling with excitement. Time to add the water, salt and flour and knead. Derek sent me this video that really explained this process well, jump to 7 minutes in or watch the whole thing, its quite informative. You can do knead with strategy in that video or fold the dough every 30 min for about 3 hours.
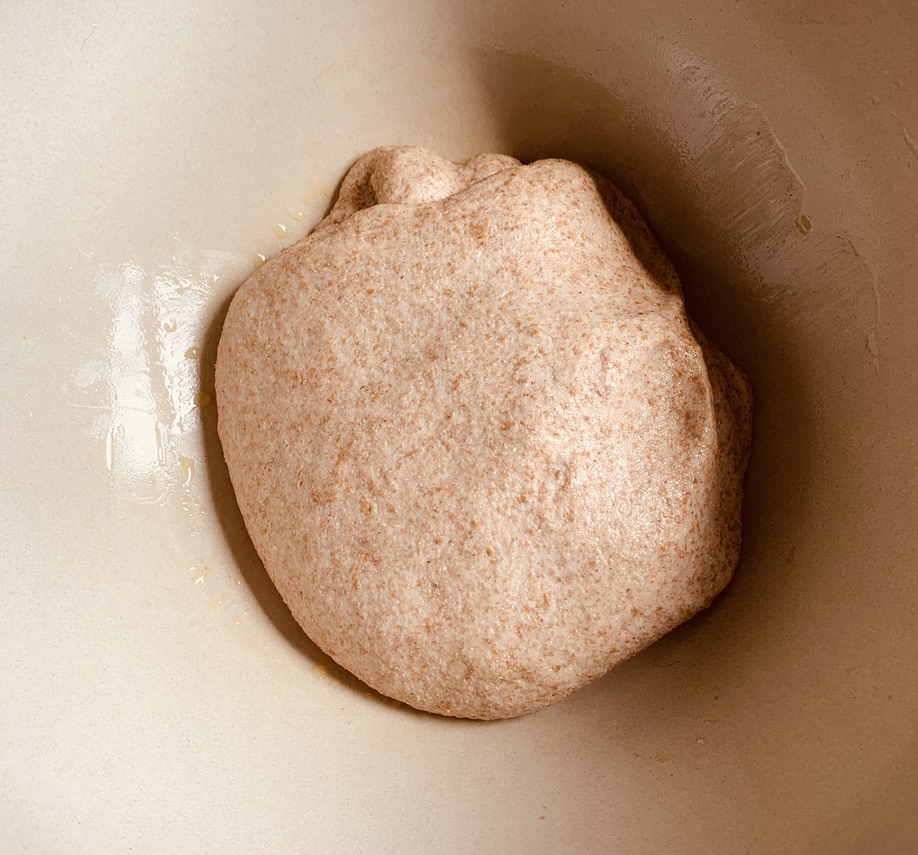
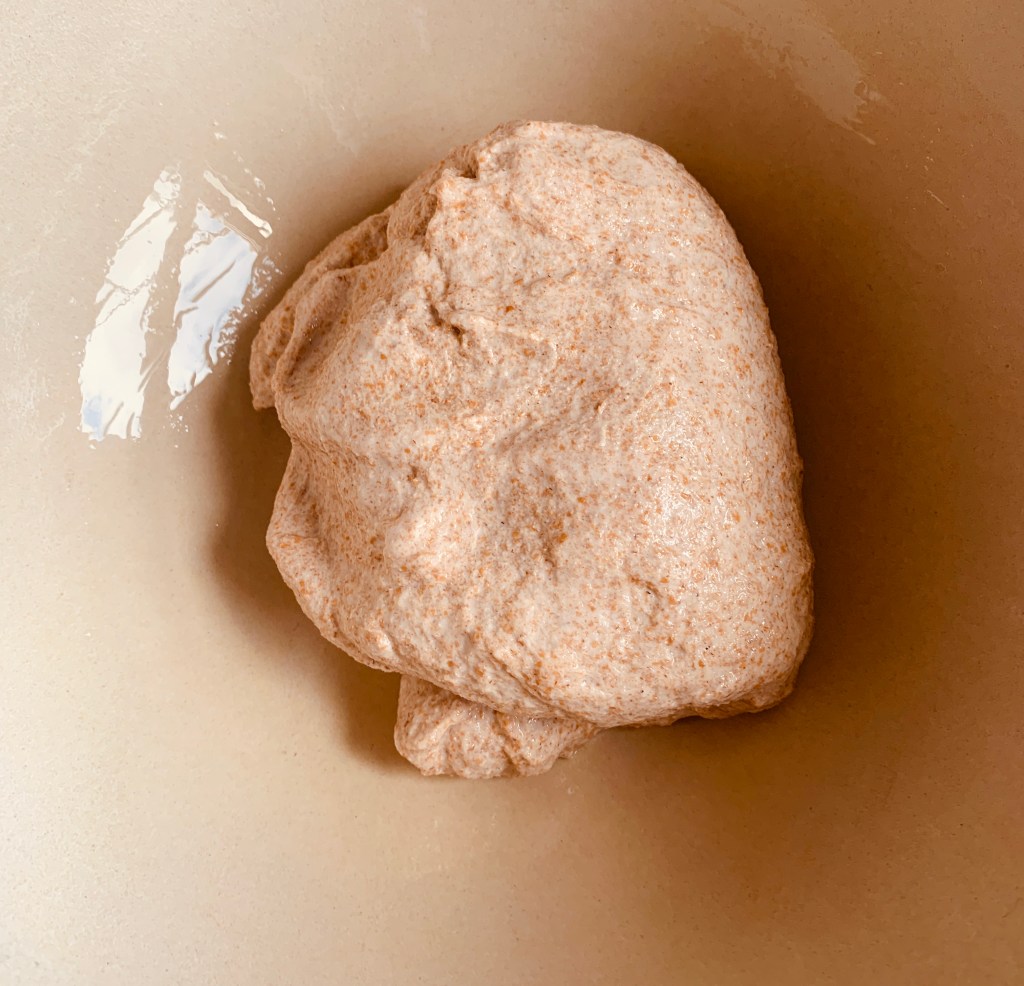
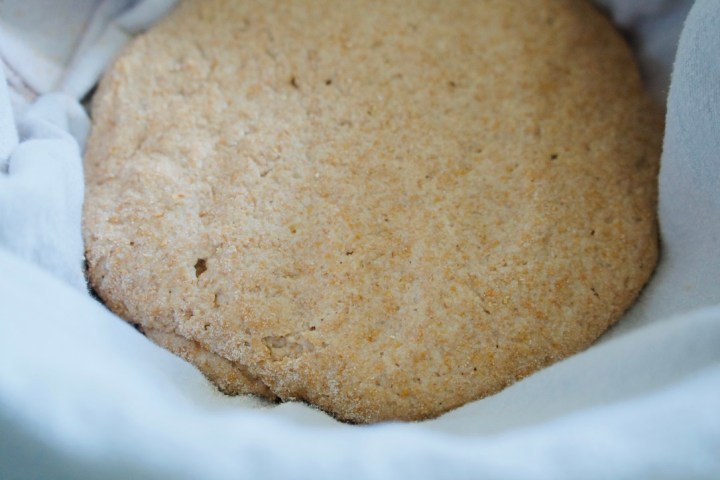
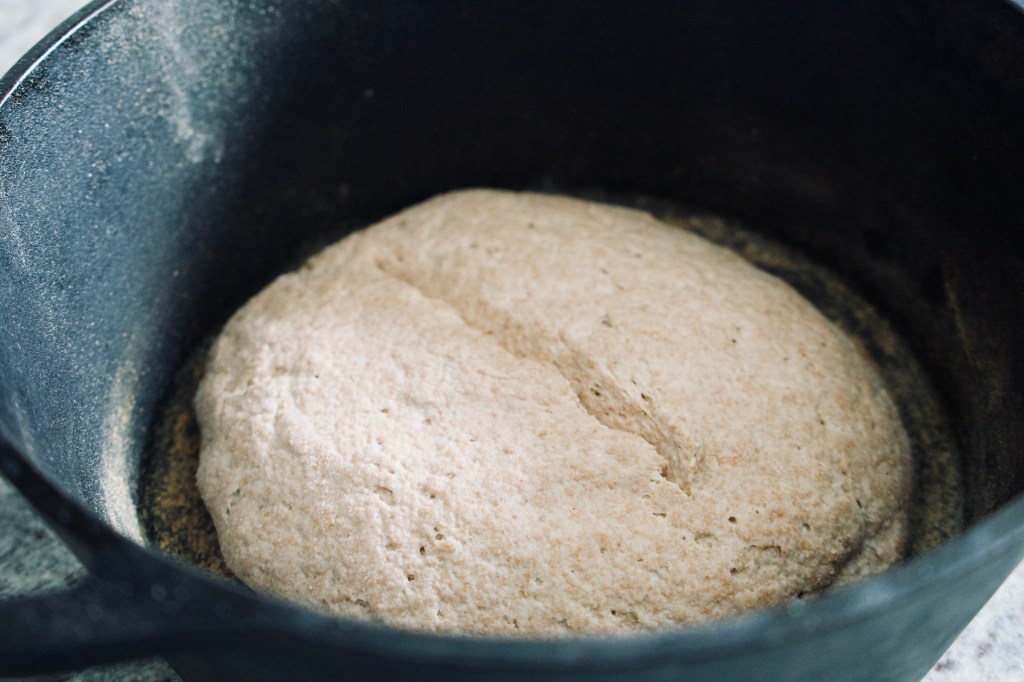
Once your dough feels ready for the first rise, or ‘proofing’ as they would say, get ready to be patient. Allow the dough to sit in a warm environment, around 80 degrees for anywhere from 2-10hours(LOL quite a range I know). I mark where my dough is on the bowl with a piece of tape and wait for it to be 50% bigger. It will look poofy and pillow like, if you do this step correctly, you will know your loaf is destined for greatness.
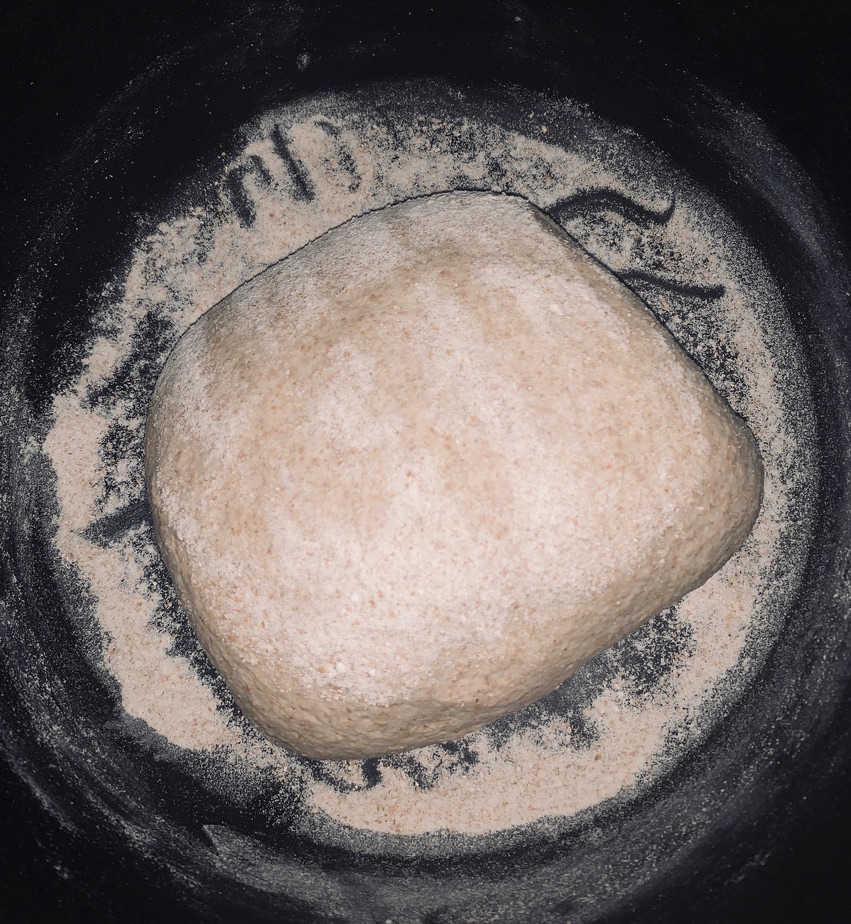
You are now ready for your final shape and final proof. Allow your bread to fall out of your bowl onto a well-floured counter and create a loose looking circle, let rest on the counter for 10 minutes. Fold the right side into the center line, fold the left side into the center line tucking the edges. At the top begin to role your bread all the way down, this is your shape, a nice wide log.
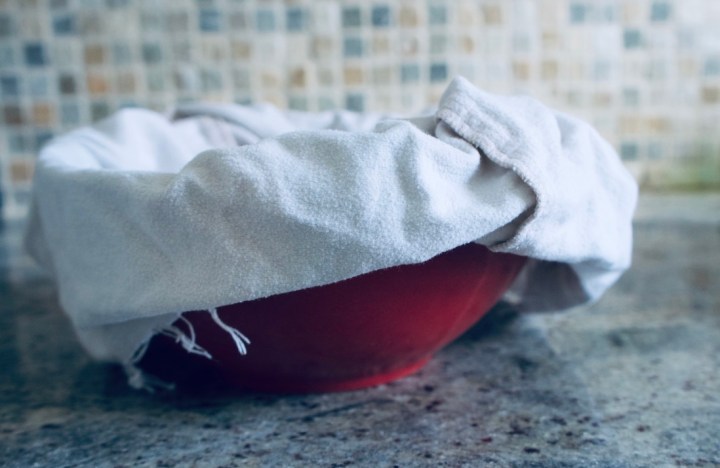
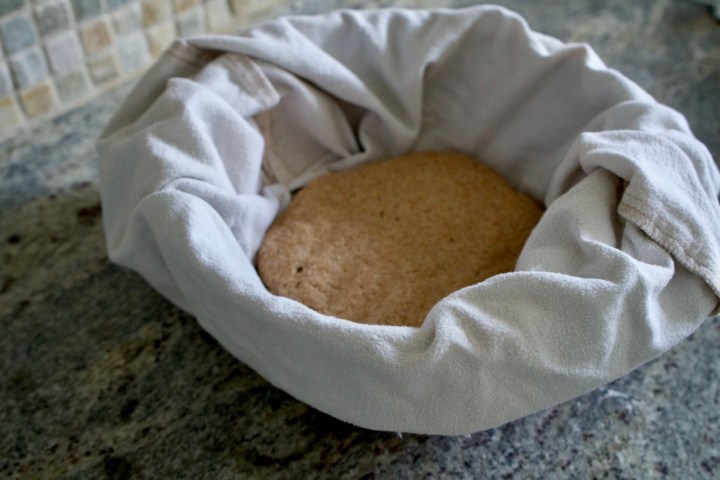
I had a bowl ready for ‘proofing’ or rising, it is a mixing bowl with a tea towel covered in flour, gently place your dough into this bowl all seams facing up. Lightly flour the top of your bread and put it in the fridge overnight.

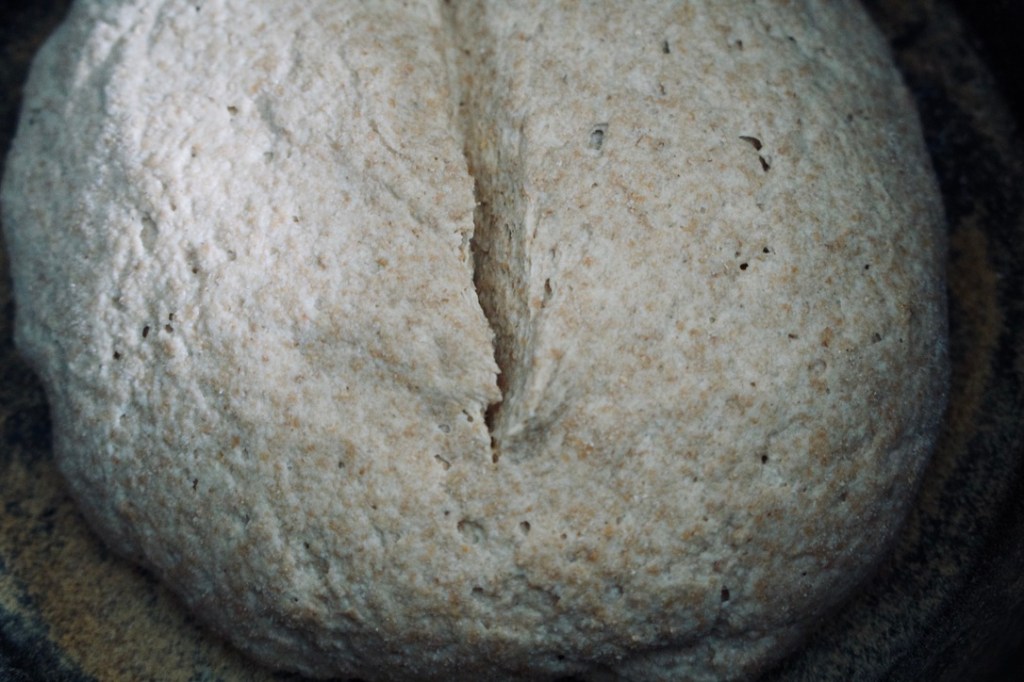
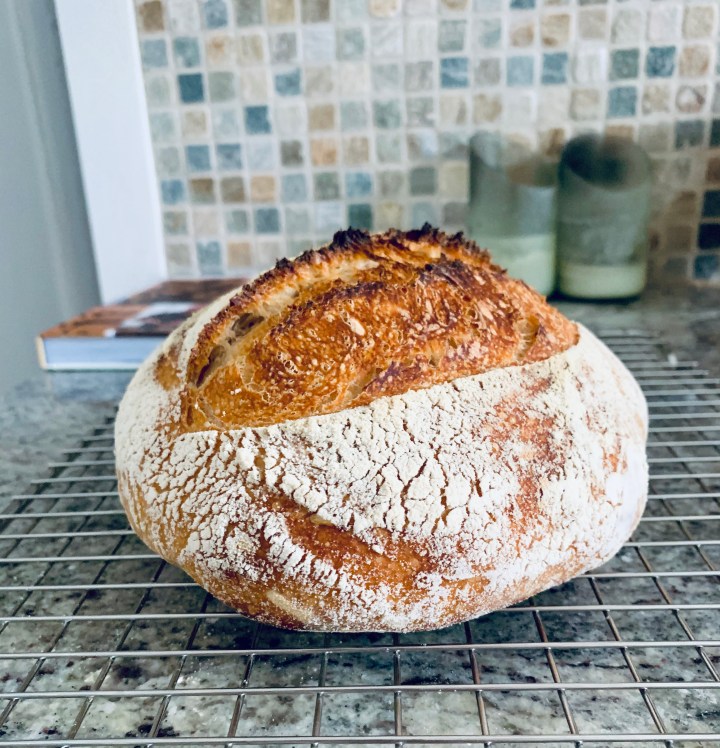
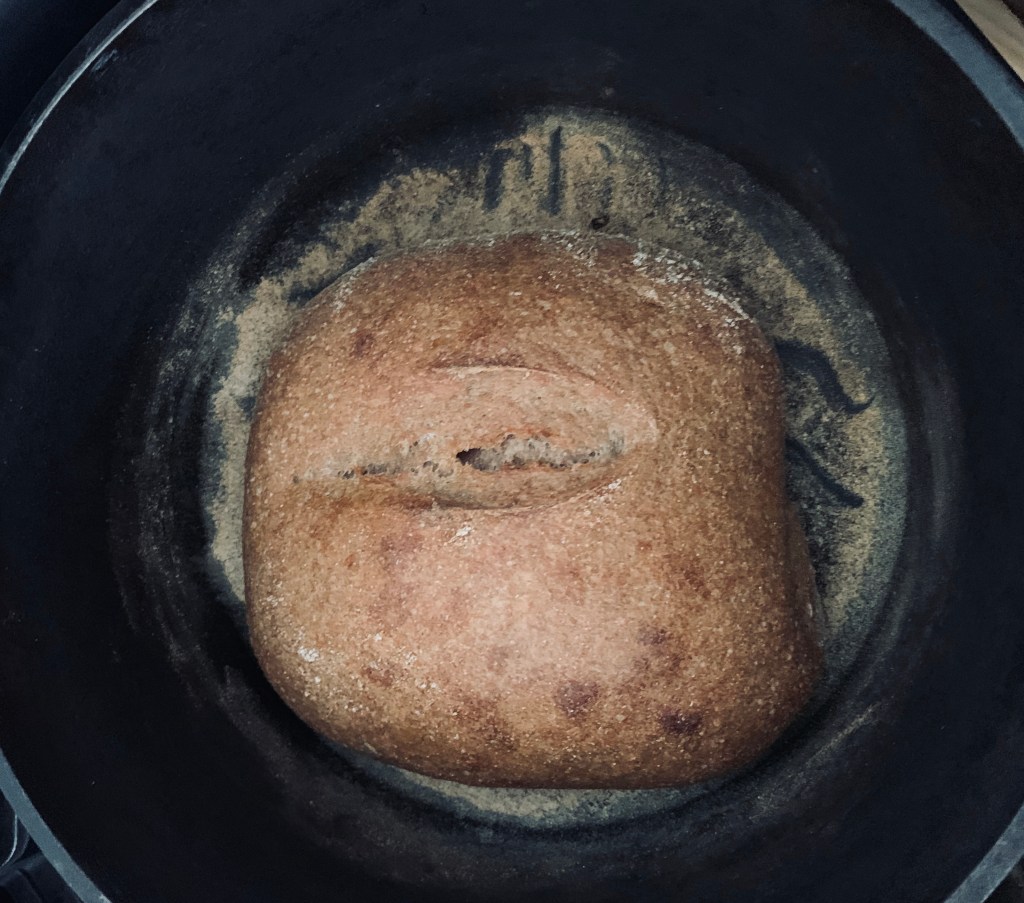
In the morning I preheated my dutch oven and my real oven to 475 degrees, floured my dutch oven, and gently flipped my risen dough in. Take a razor or sharp knife and ‘score’ your loaf with a ¼ inch deep incision at a 45 degree angled 6 inch straight line. I cooked with the lid on for 25 minutes, and then removed the lid for another 30 minutes.
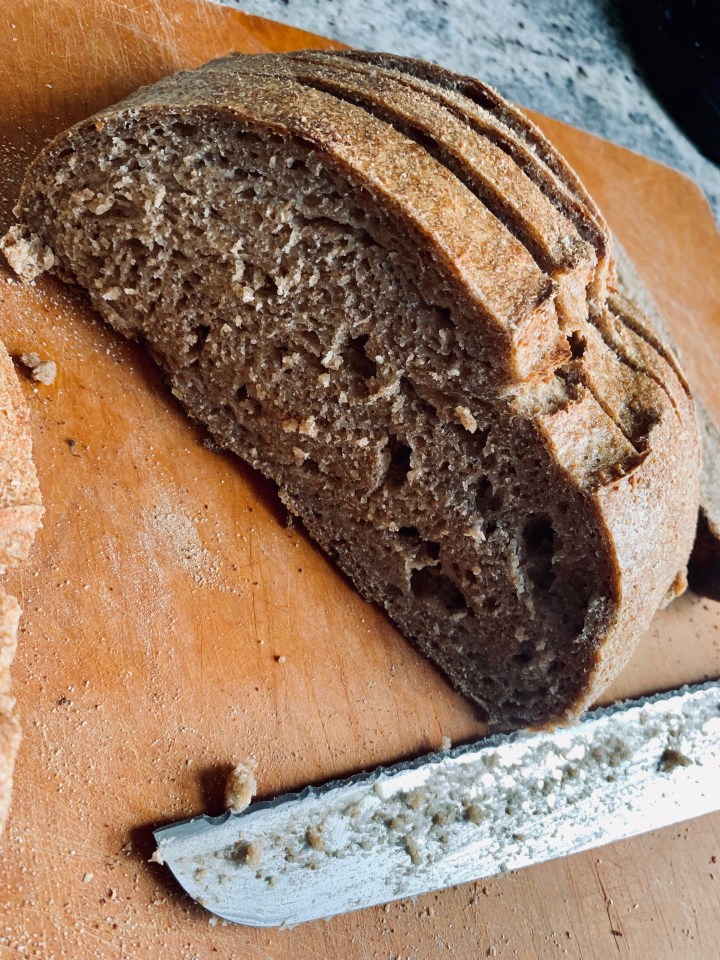
Cathy and I both decide that the best time to eat the bread is the moment you are able to hold it without burning your hands… enjoy!!
If you have any extra tips, help us all out! Leave them in the comments below! I want to know more!
